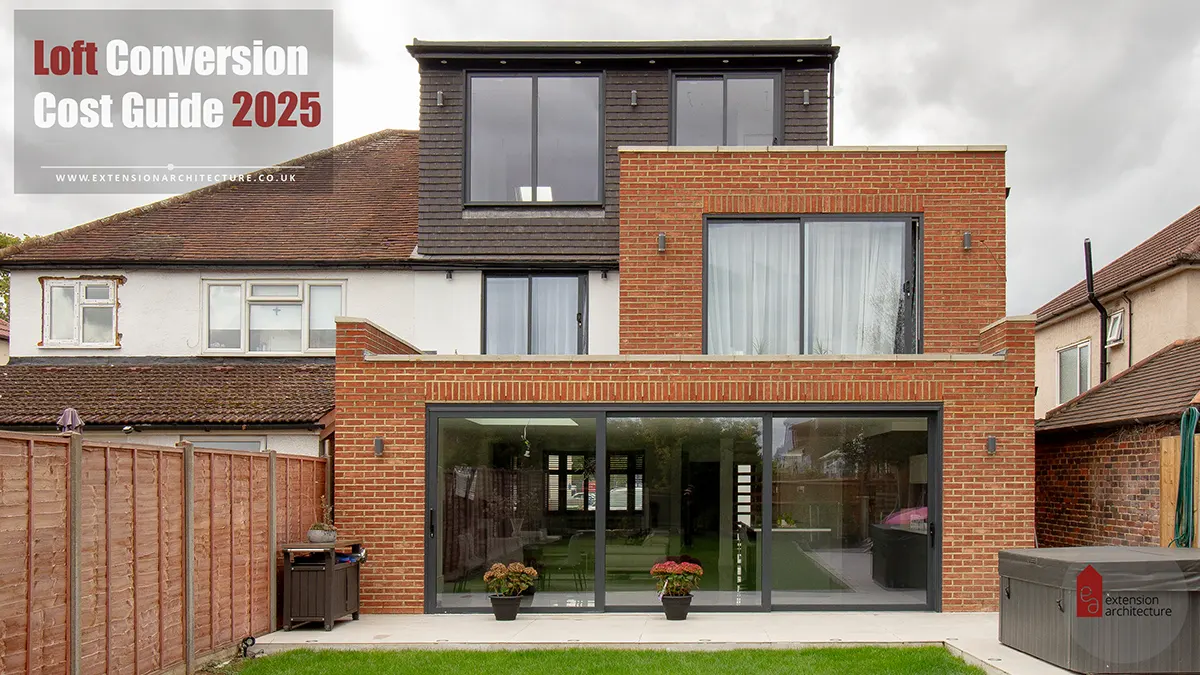
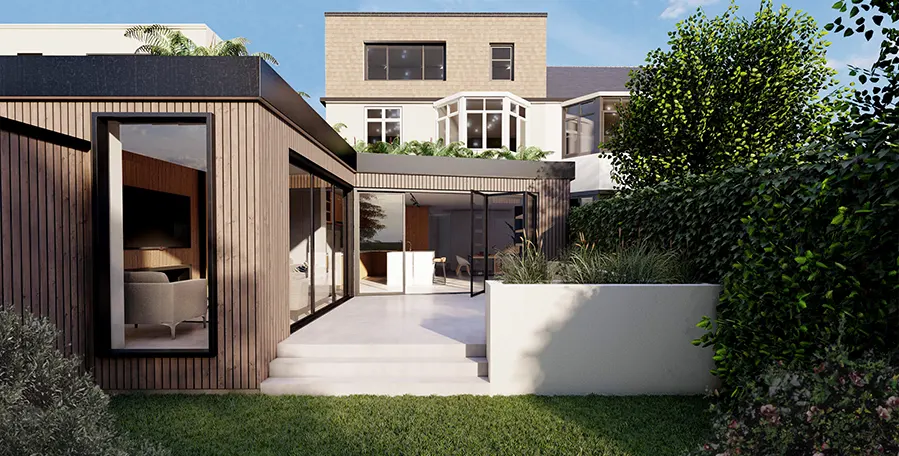
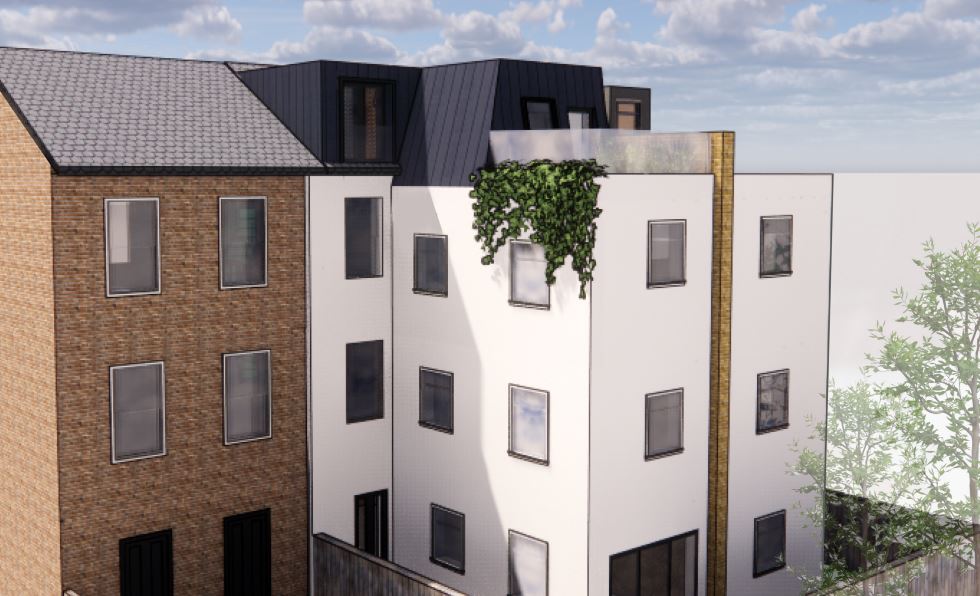
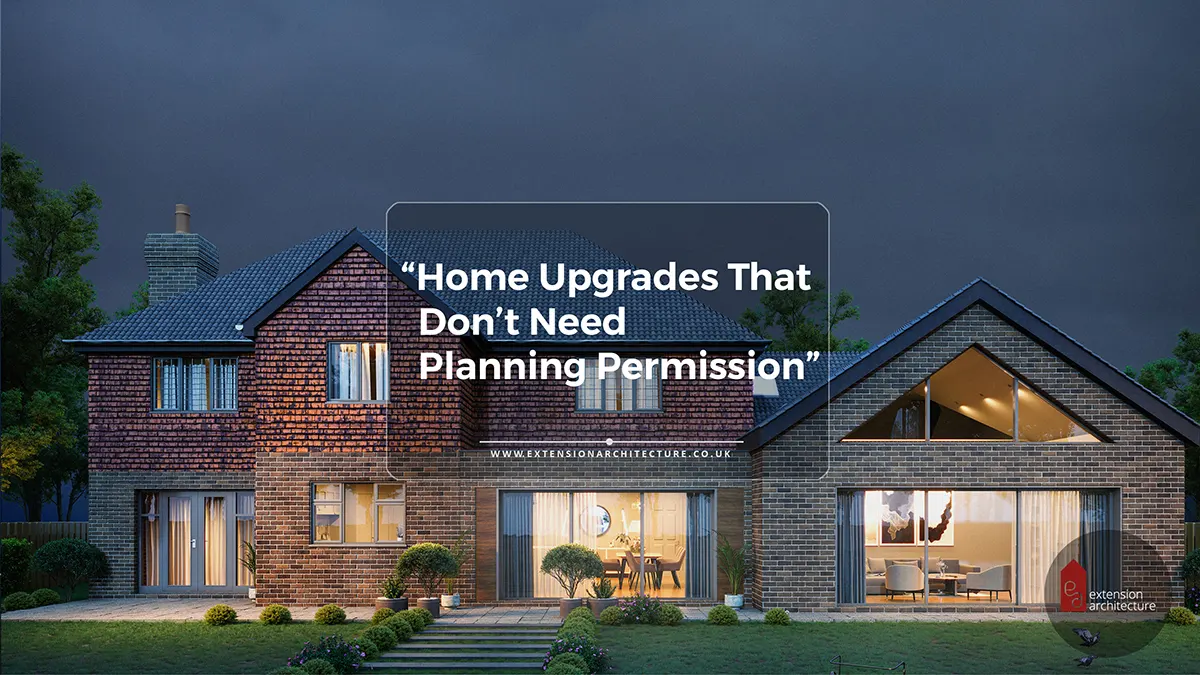
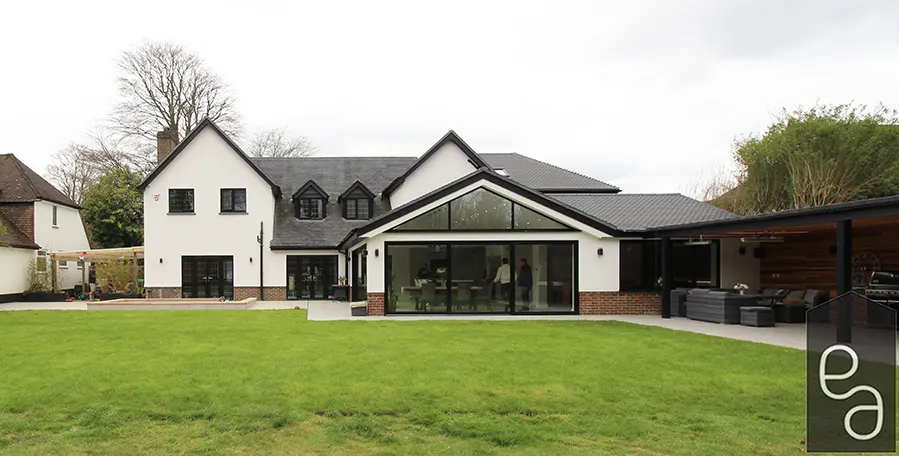
A Guide to Building a Loft Conversion with Trussed Roof
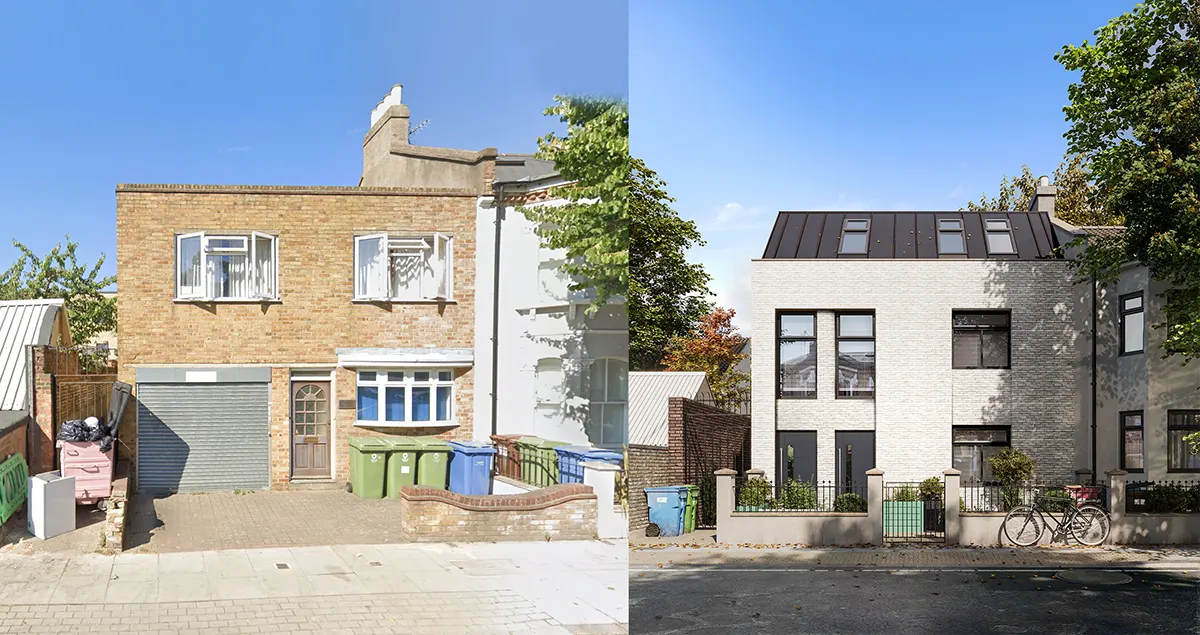
Although converting a trussed roof into a loft space is by no means a simple task, they are one of the most efficient ways for adding a habitable area to your home. They not only maximise the functional space but add significant value to your home. But given the complexity involved in converting it into a loft space, the question is how to pull off a truss roof loft conversion?
According to some estimates, more than 50 million homes in the UK are constructed using truss rafters or truss roofs. A highly popular choice in the 60s, truss roofs offered high structural integrity, high design flexibility, were cost-effective, and required lesser time to build whilst adding significant value to a house.
What is a Trussed Roof?
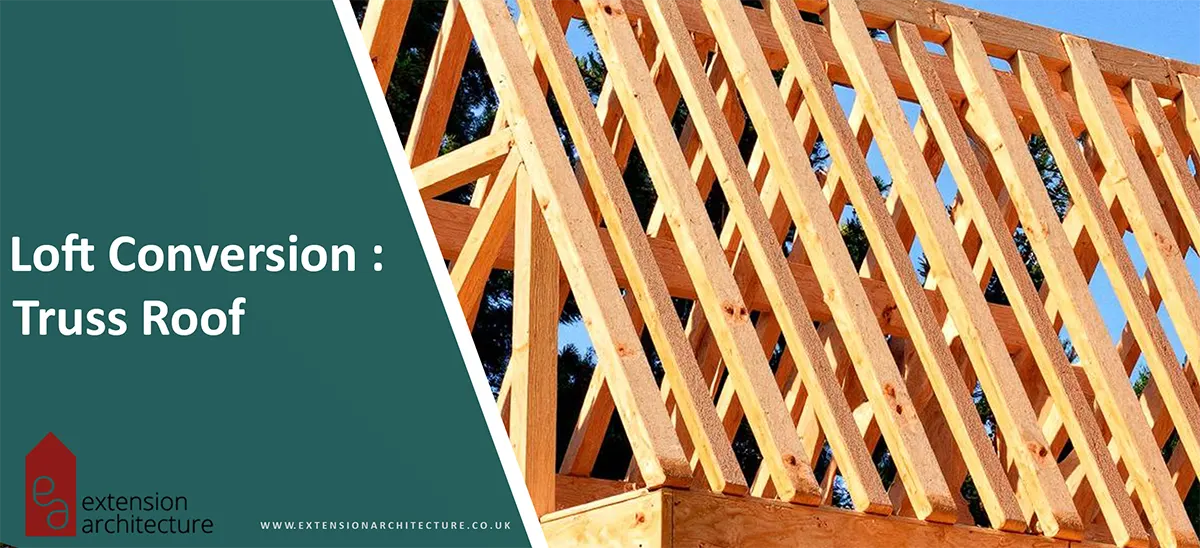
A trussed roof, which was once popular during the 1960s and the 70s, is a roof type made of ‘W’ shaped webbings that are manufactured offsite as triangular frames to offer a substantial and definitive support to roof structures.
The trussed roof is created such that beams intersect each other diagonally and horizontally to form a ‘W’ shape to endure the maximum weight of the roof structure. The key to a trussed roof’s functionality is inherently in its trusses, which shoulders the weight of the roof and distributes it evenly across the building walls.
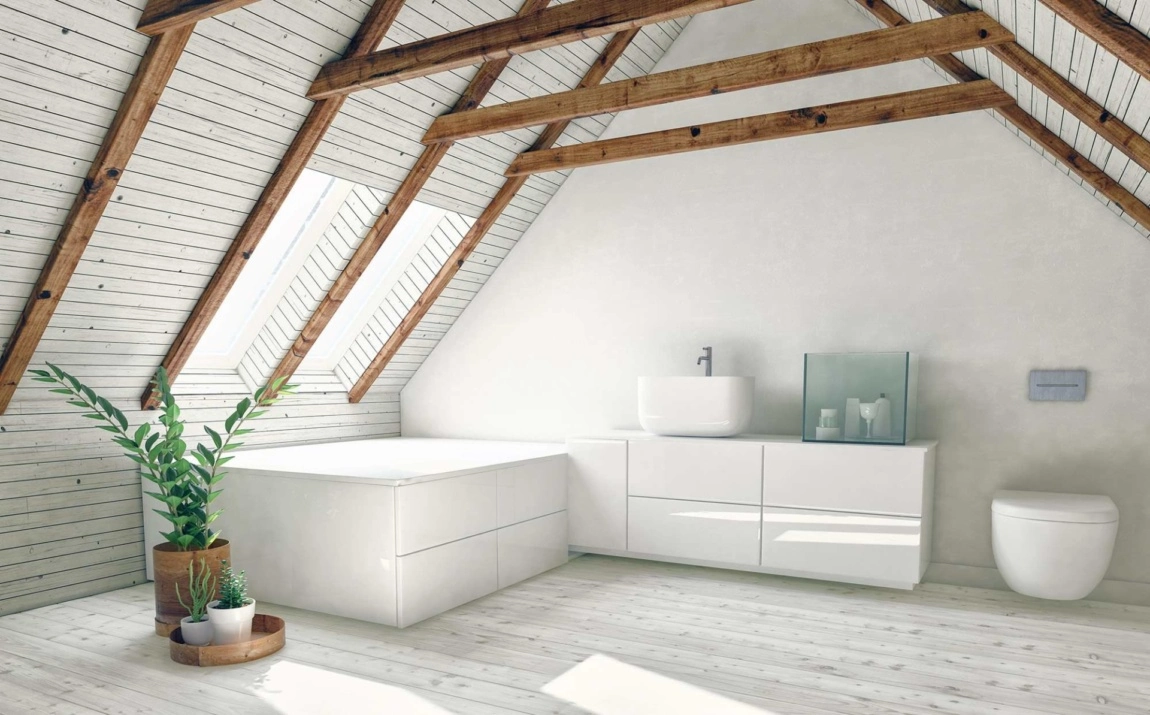
What is a Trussed Roof Loft Conversion?
A truss dormer loft conversion involves the removal of supporting timber webs and replacing them with reinforcements in the form of steel or timber beams as support for the new floor joists.
The process involves a thorough and detailed inspection of a structural engineer whose responsibility is to ensure the roof’s structural integrity while removing the timber webs, whilst maintaining the evenly distributed triangular support.
Why is it Complex to Execute a Trussed Roof Loft Conversion?
One of the reasons why trussed roofs offer great benefits is because they are designed such that the weight is distributed evenly across the whole structure. While executing a trussed roof loft conversion, existing timber webs, which are the mainstay of supporting the entire roof structure, need to be removed. Now, this removal needs to be compensated, failing at which the entire roof structure may collapse, thus affecting the structural integrity of the building.
How to Identify a Trussed Roof?
If you want to know whether you have a trussed roof construction in your house, then the following indicators may help you –
- Trussed roofs are typically triangular shaped with slopes on either side and the highest elevation at the center.
- If the trusses of your roof are ‘W’ shaped interconnected to each other with diagonal and horizontal webbings (steel or timber), then it is likely that you have a trussed roof.
- If your house was built during the 1960s or in the 1970s, it is then likely that your house is of a truss roof construction.
Considerations for a Trussed Roof Loft Conversion
When embarking on a truss roof loft conversion, it is imperative to conduct a few assessments that are considered pivotal to understand its viability.
- Structural Integrity
Because a trussed roof loft conversion involves removal or modification of truss elements which act as the main supporting elements, it may lead to a structural failure if not executed correctly. For this reason, evaluating the sturdiness of the roof, particularly for load bearing, is critical. - Height for Loft Space
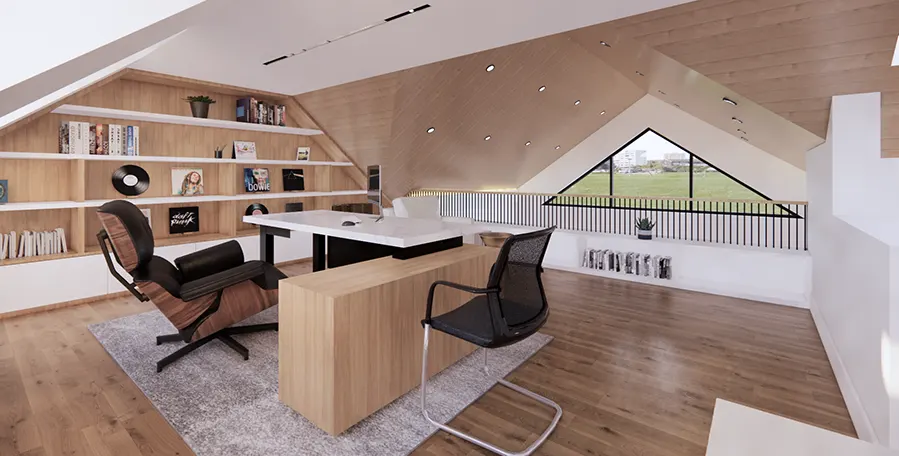
Assessing the available headroom space is key to ensure that the to-be converted living area is habitable and is sufficient enough to accommodate a living space. Traditional trusses (built during the 1960s) which are usually made of timber have a pitch height of about 2.5m, while modern trusses (recent build) of the past decade have a pitch height of about 3m and are more conducive for a conversion as they offer more headroom space. - Insulation
Consider U-values for roof, wall, and floor insulation. All types of insulation warrant specific U-values from the insulating material, which if met will ensure effective insulation. For example, wall insulation requires U-value of the insulating material to be under 0.27 W/m2 K.
For a roof insulation, the insulating material should have a U-value of about 0.17 W/m2 K.
For floor insulation, the insulating material should have a U-value of about 0.18 W/m2 K. - Staircase
While constructing a new staircase for the loft, make sure that the stairs have a minimum width of usable space to access the loft. A desired width can be a minimum of 600mm to 700mm.
Also make sure the inclined height of the staircase’s handrail is under 42 degrees.
Ensure that the headroom space above the staircase is at least 2m in height. - Ventilation
Installation of roof vents, skylights, windows, exhaust fans, etc are critical to ensure ample ventilation.
The above assessments if done in the early design phase via a sketch or a draft will be key in ensuring seamless execution of the trussed loft conversion. Right from structural considerations, energy efficiency, and design considerations if all are executed by the books, then you are guaranteed of an efficient and hassle-free trussed roof loft conversion.
More about load bearing wall removal, click here to visit more.
Stepwise Guide for Trussed Roof Loft Conversion
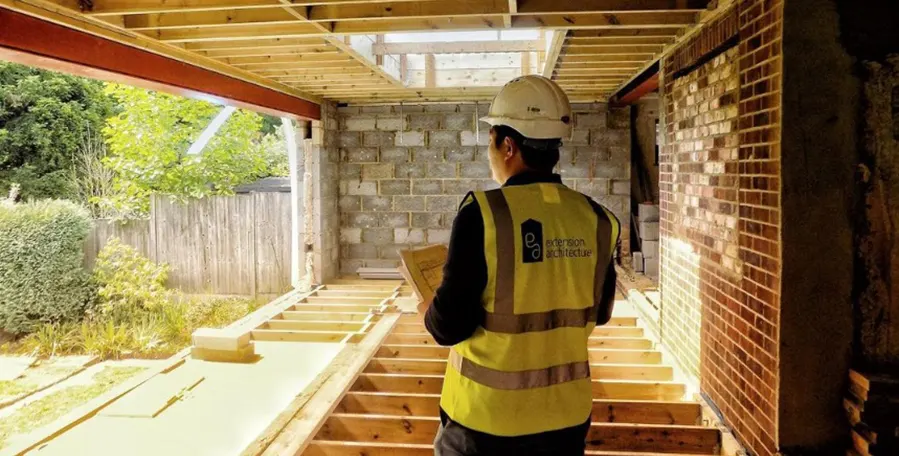
We at Extension Architecture, being specialists in loft conversions understand what it takes to execute a project as complex as a truss roof loft conversion. For this reason, we are deciphering a step-by-step guide to help you go through a trouble-free and successful trussed roof loft conversion.
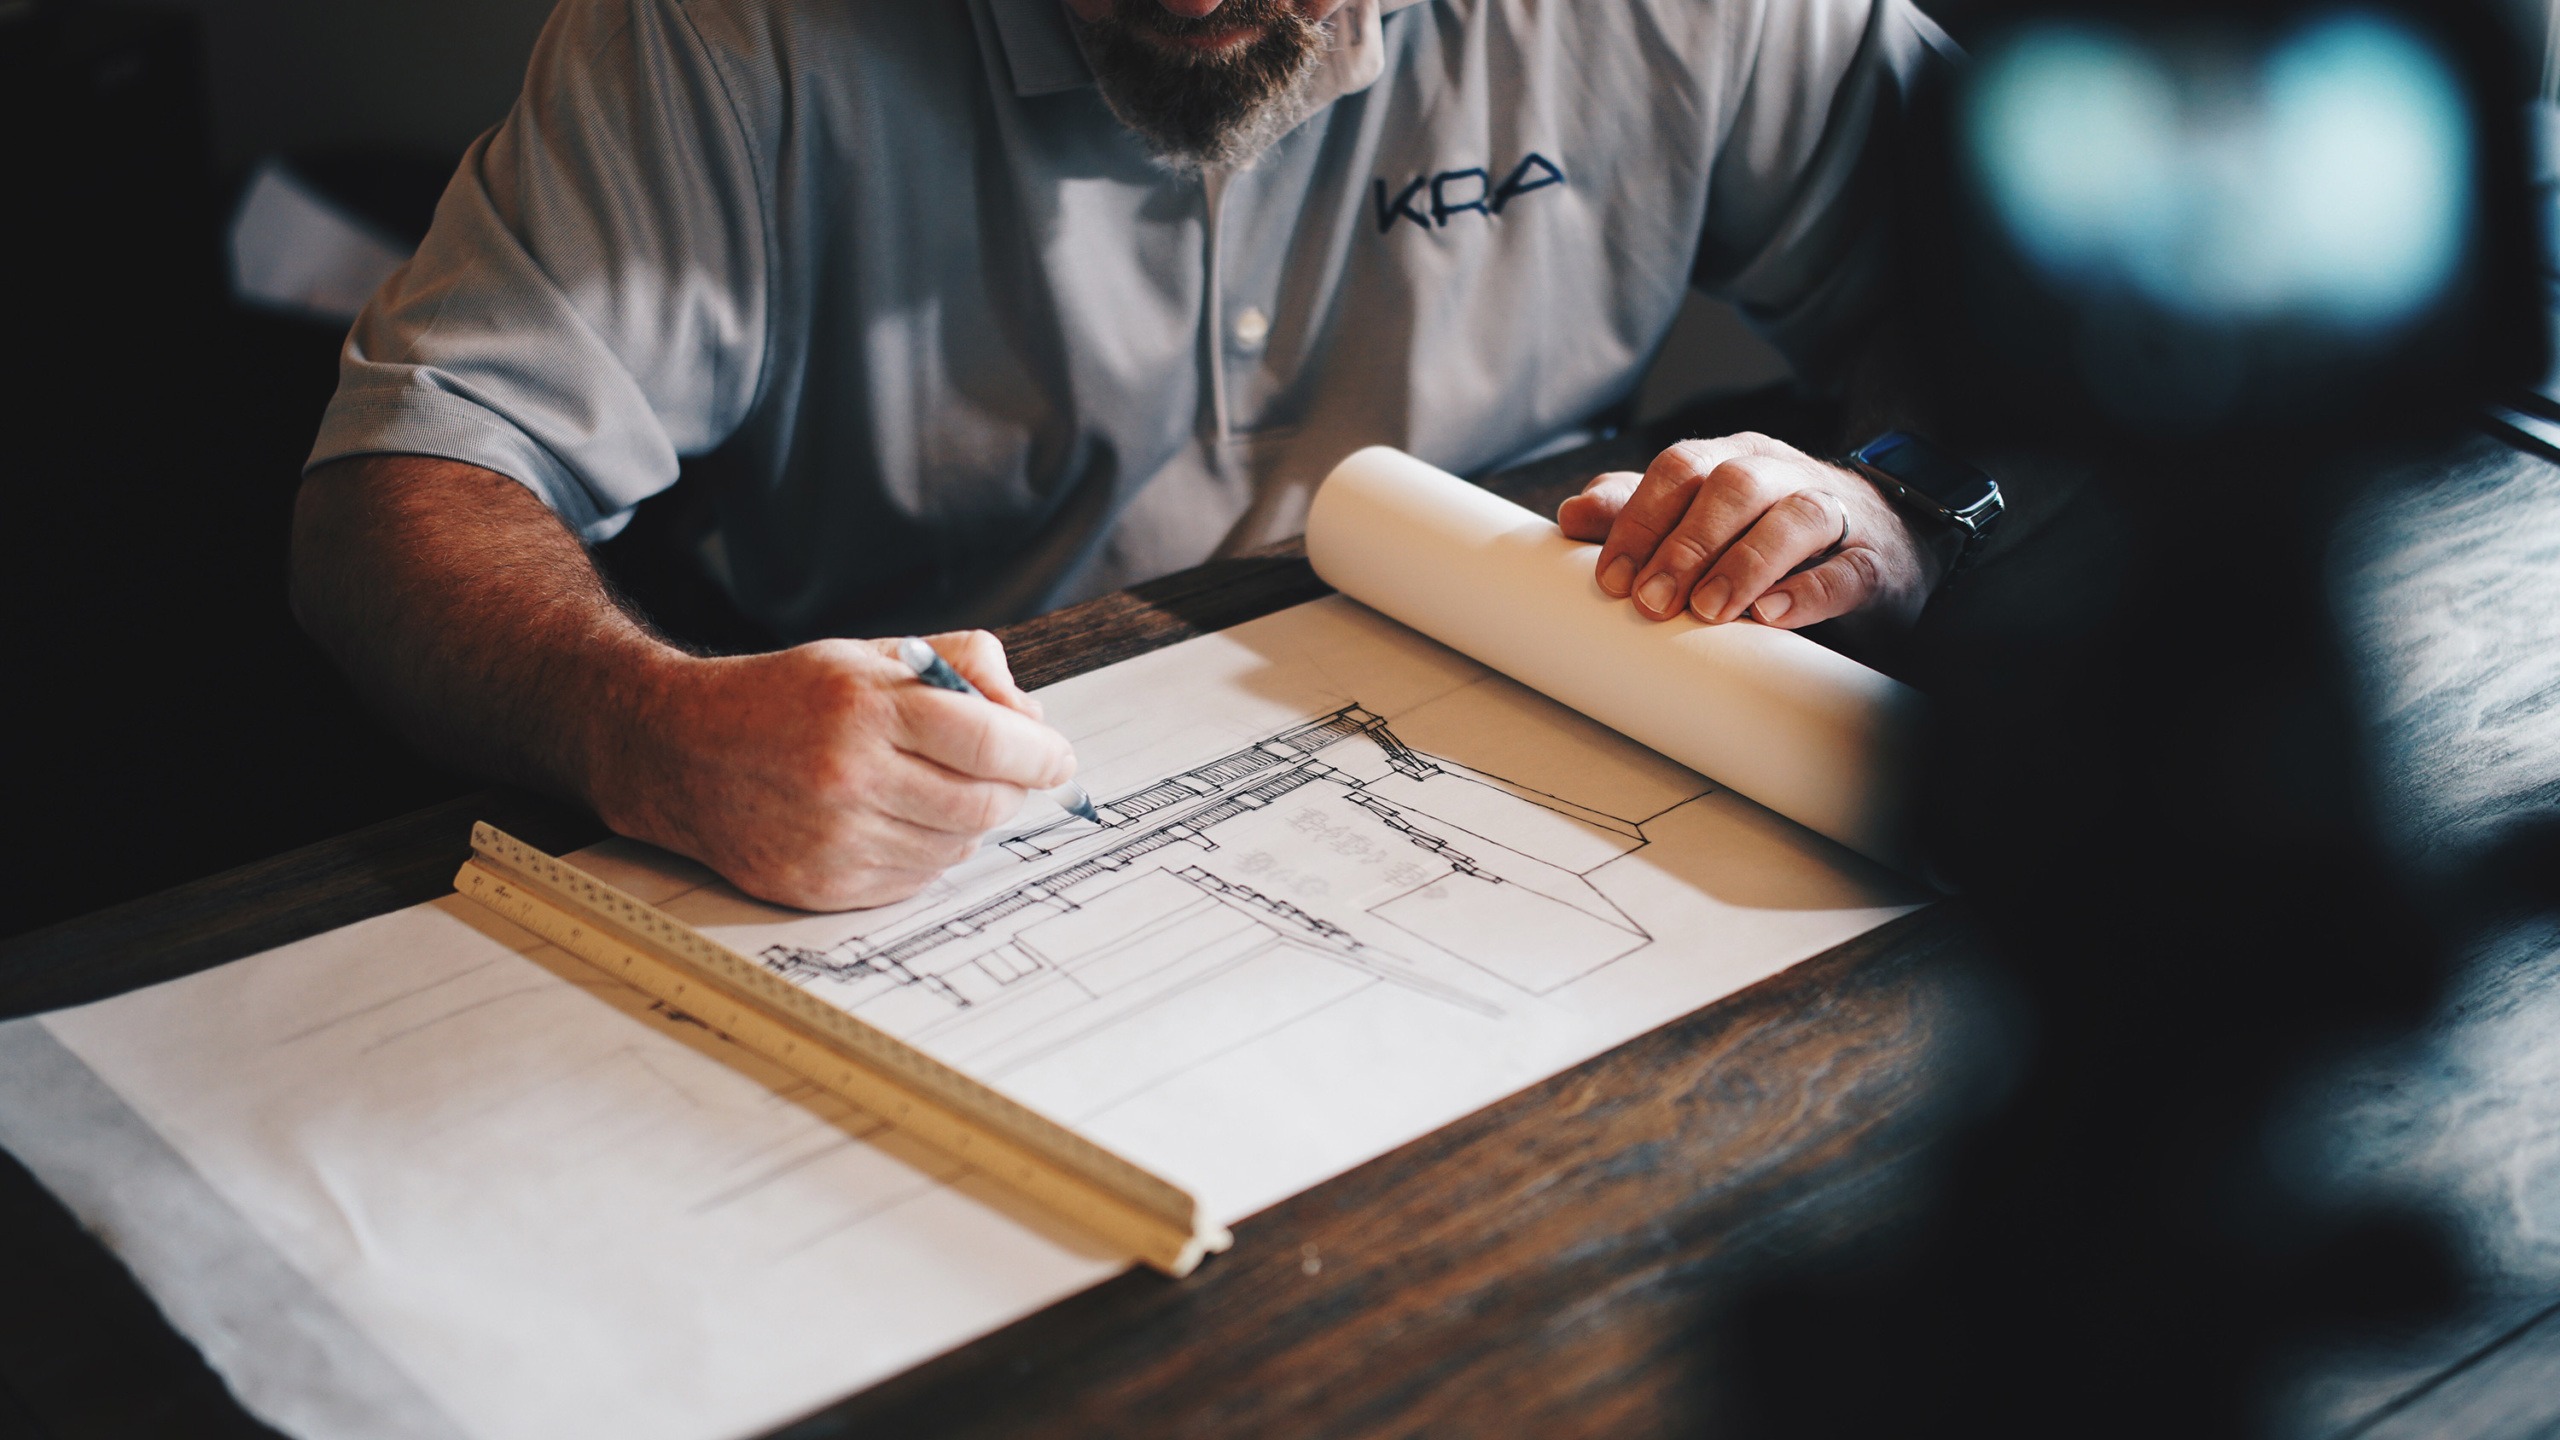
1. Hire a Structural Engineer
This is the first and the most crucial task to do before you think of anything else. A structural engineer is the only qualified professional who can assess and suggest any changes or add inputs to a project of such complexity and magnitude.
2. Draft the Plan and Sketch
Drafting the plan is key as it reveals key areas of the to-be converted loft space. This is important to ensure that your whole idea is present as a blueprint at a glance, and to know what’s where and to map out any arriving complications or design changes.
This will also help you understand improvements or limitations for attaining structural robustness, ample ventilation & insulation, along with ensuring sufficient headroom space and other related considerations.
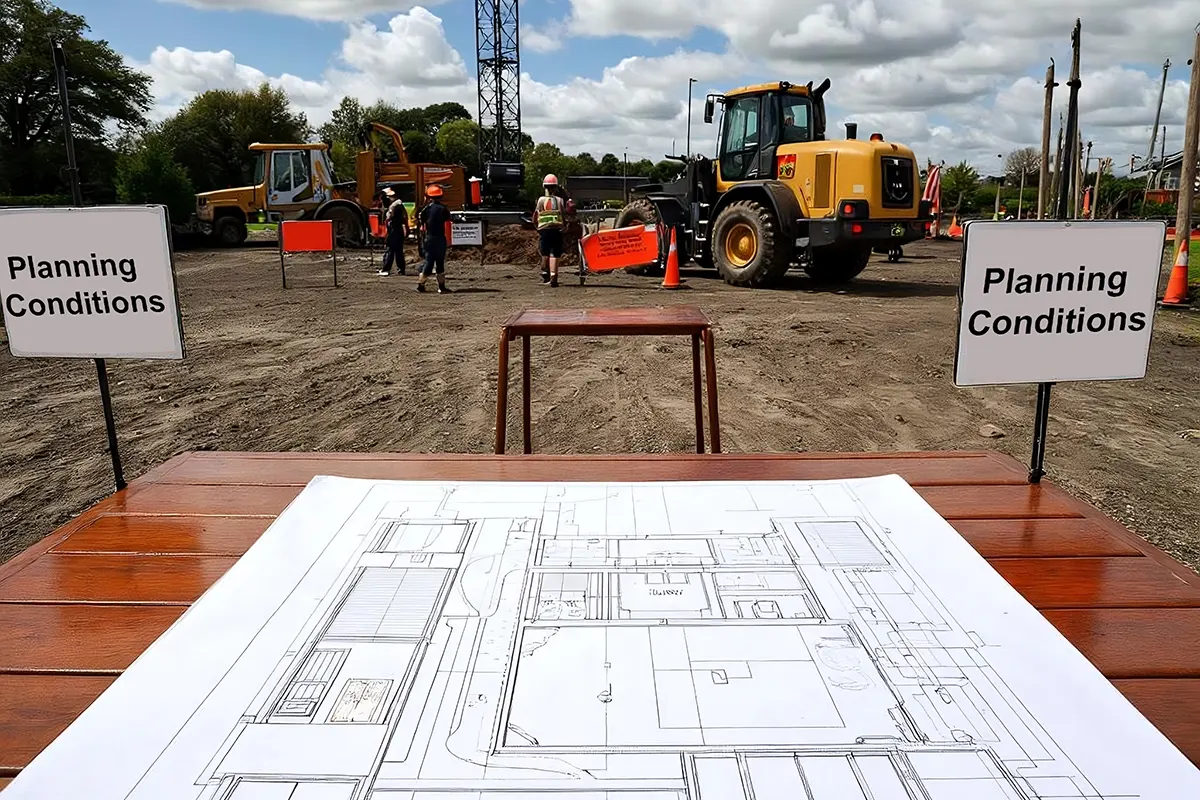
3. Obtaining Permissions
Once you are ready with the plan after consulting a structural engineer, you must then apply for planning permission and building regulations approval. Usually, the structural engineer you’ve hired can help you in assisting in such aspects.
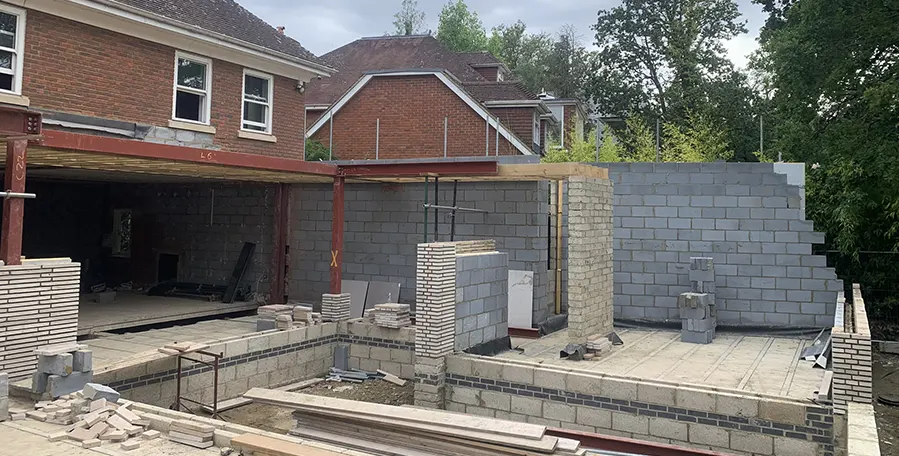
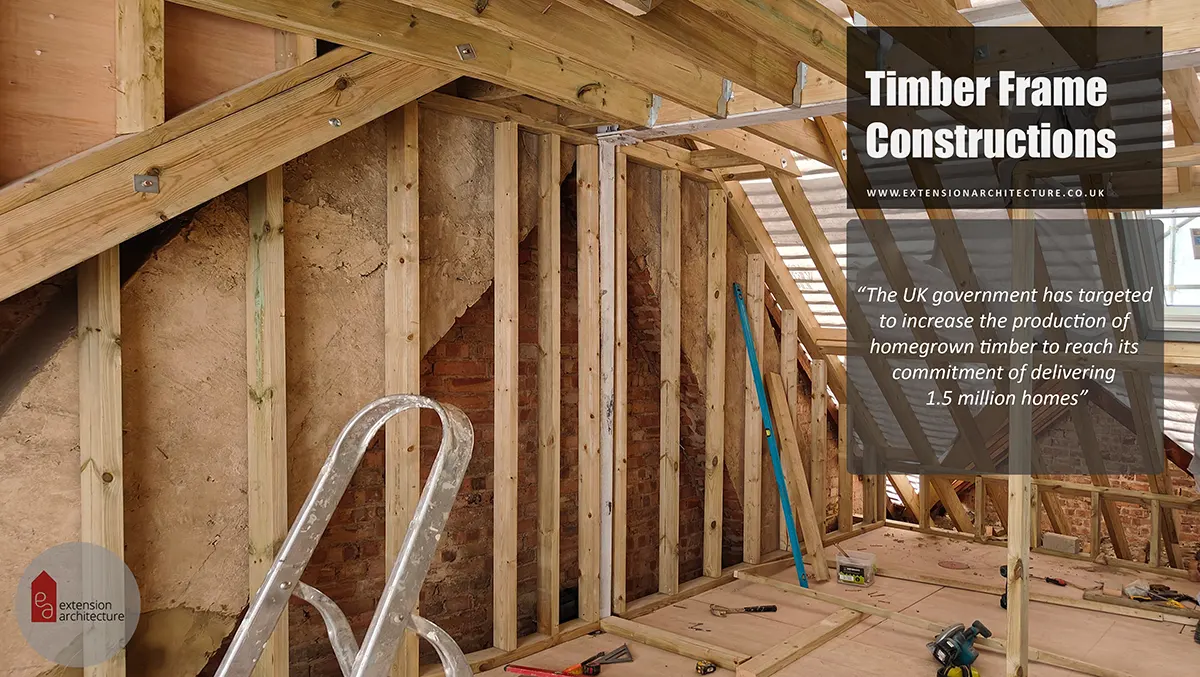
4. Truss Removal
Trussed roof loft conversion requires replacing existing timber webs with steel or timber beams. This requires highly careful planning as you cannot remove all the trusses at once. One removal may require immediate or on-the-go substitution of a steel beam for support. So, installing temporary supports is crucial as these supports will bear the weight of the roof in one place and prevent any damage. This has to be done under the supervision of a structural engineer only.
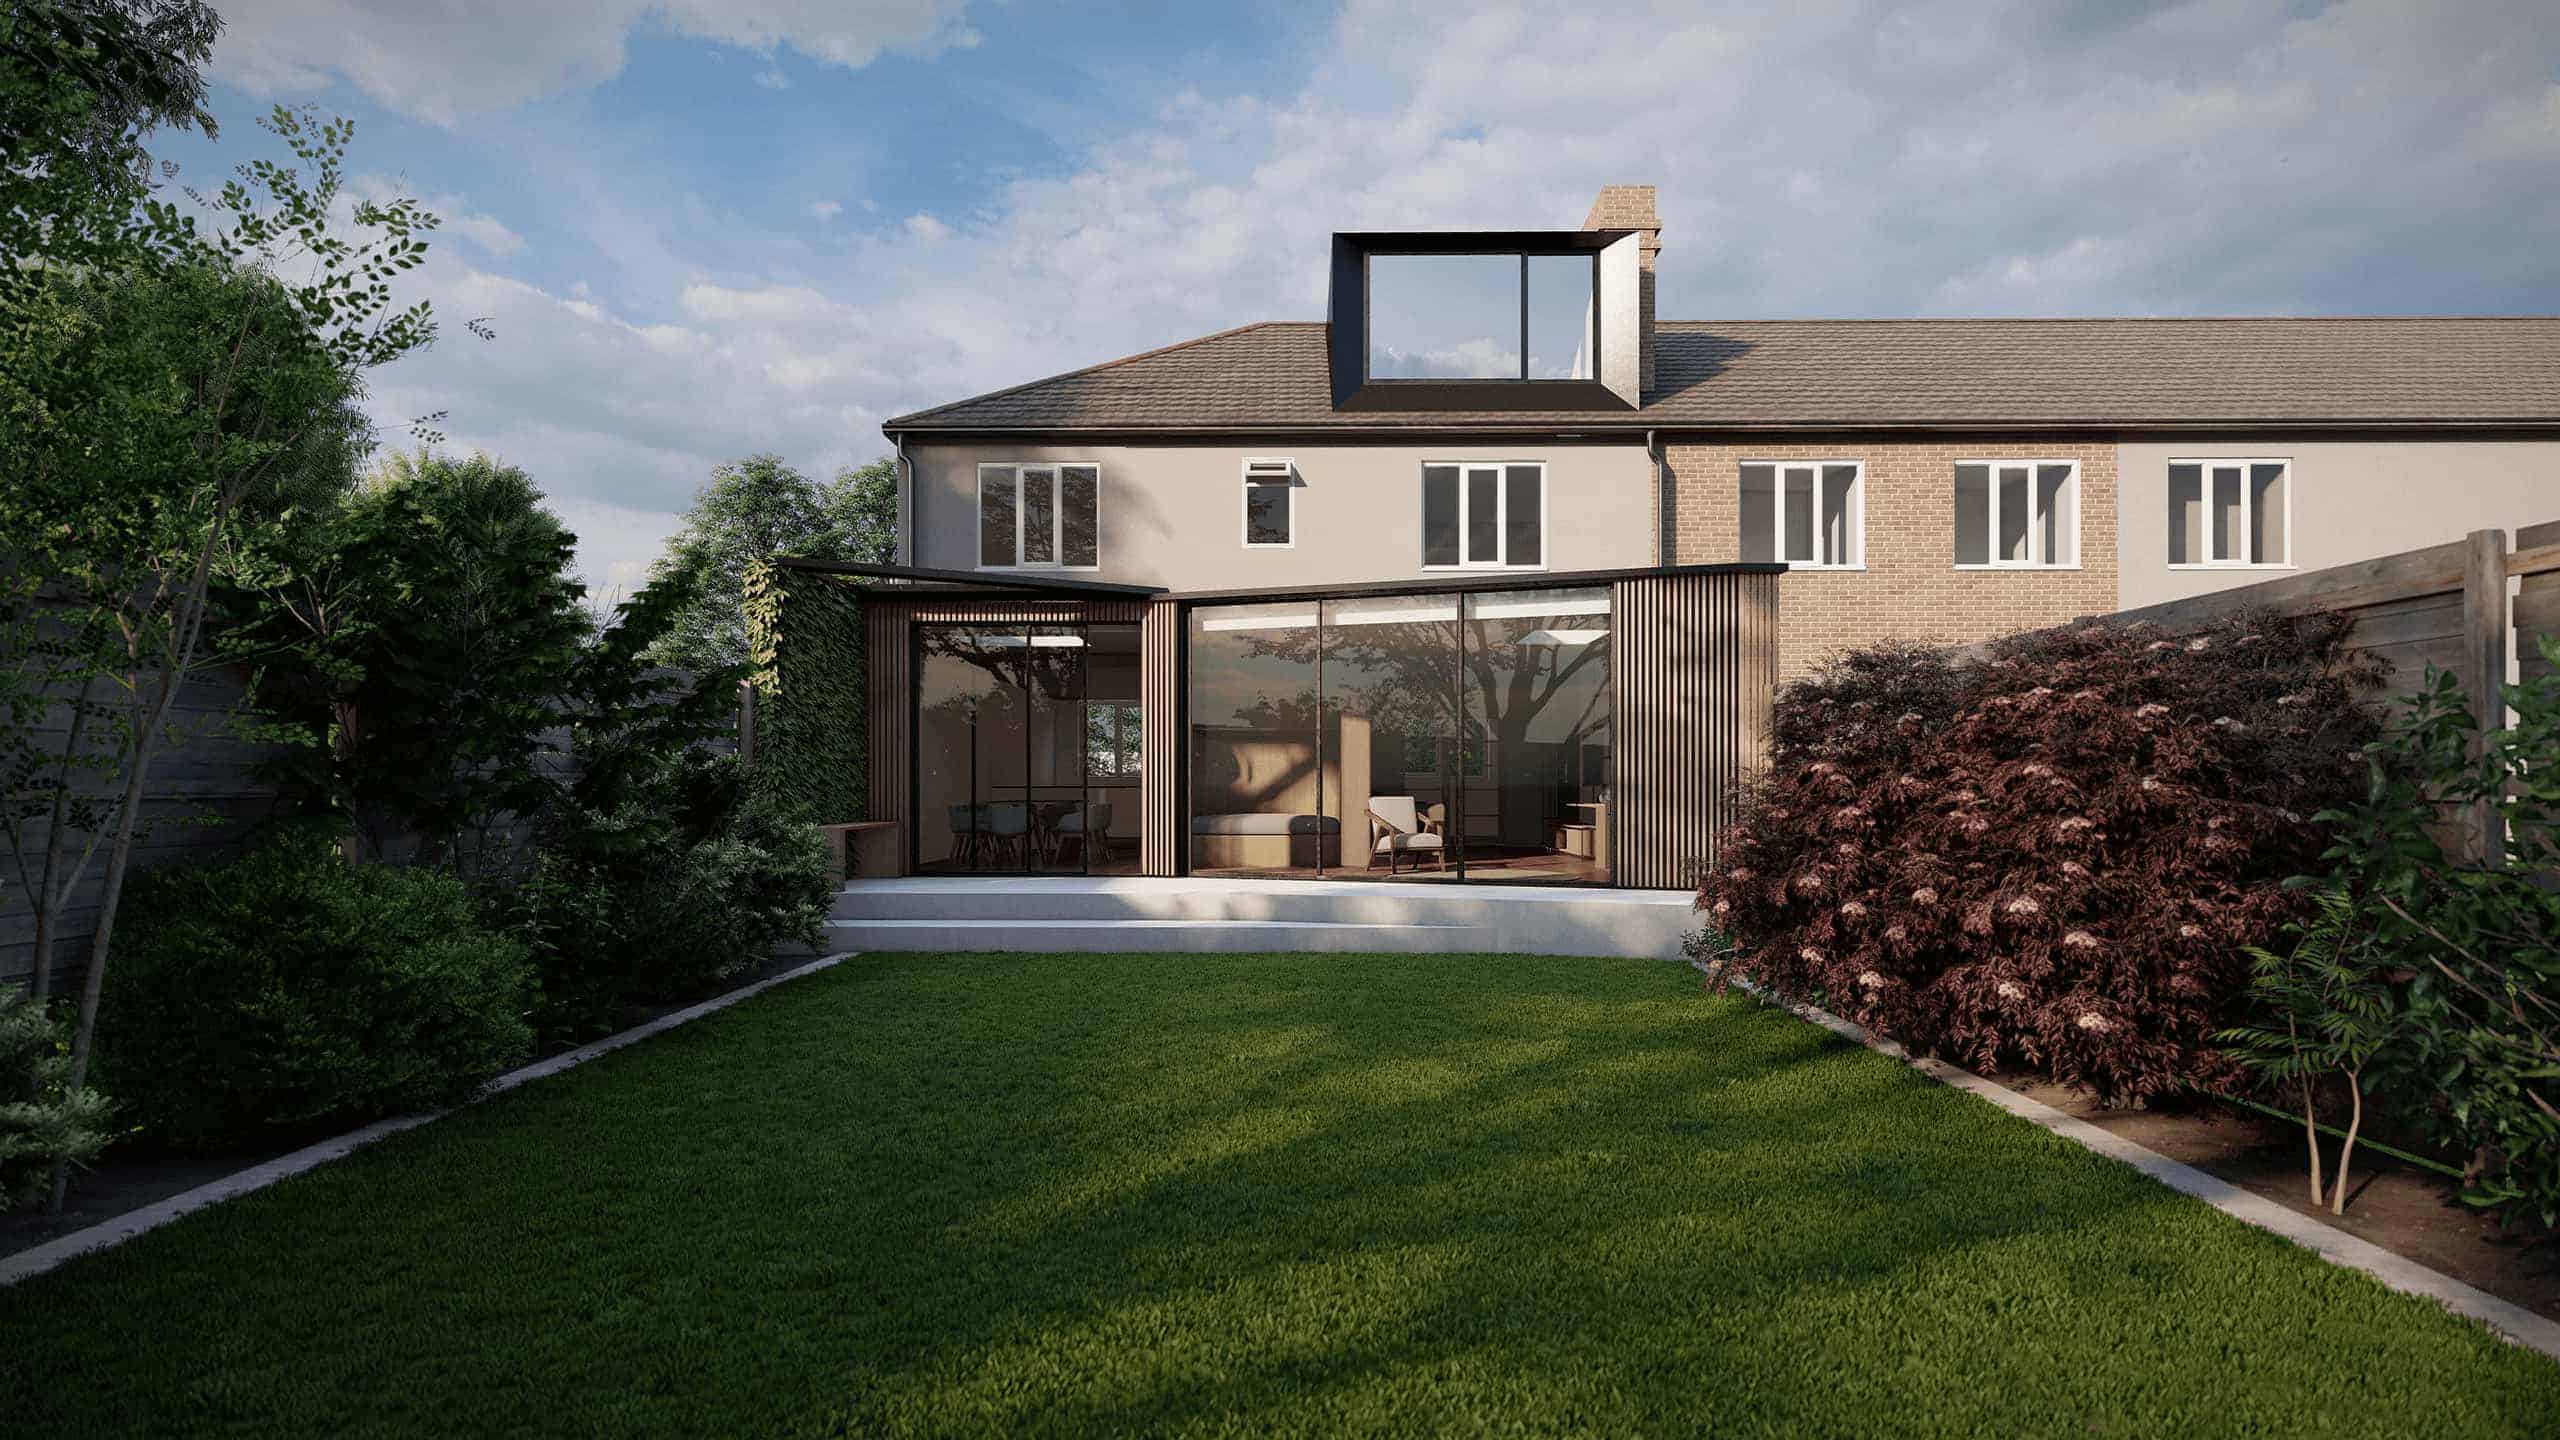
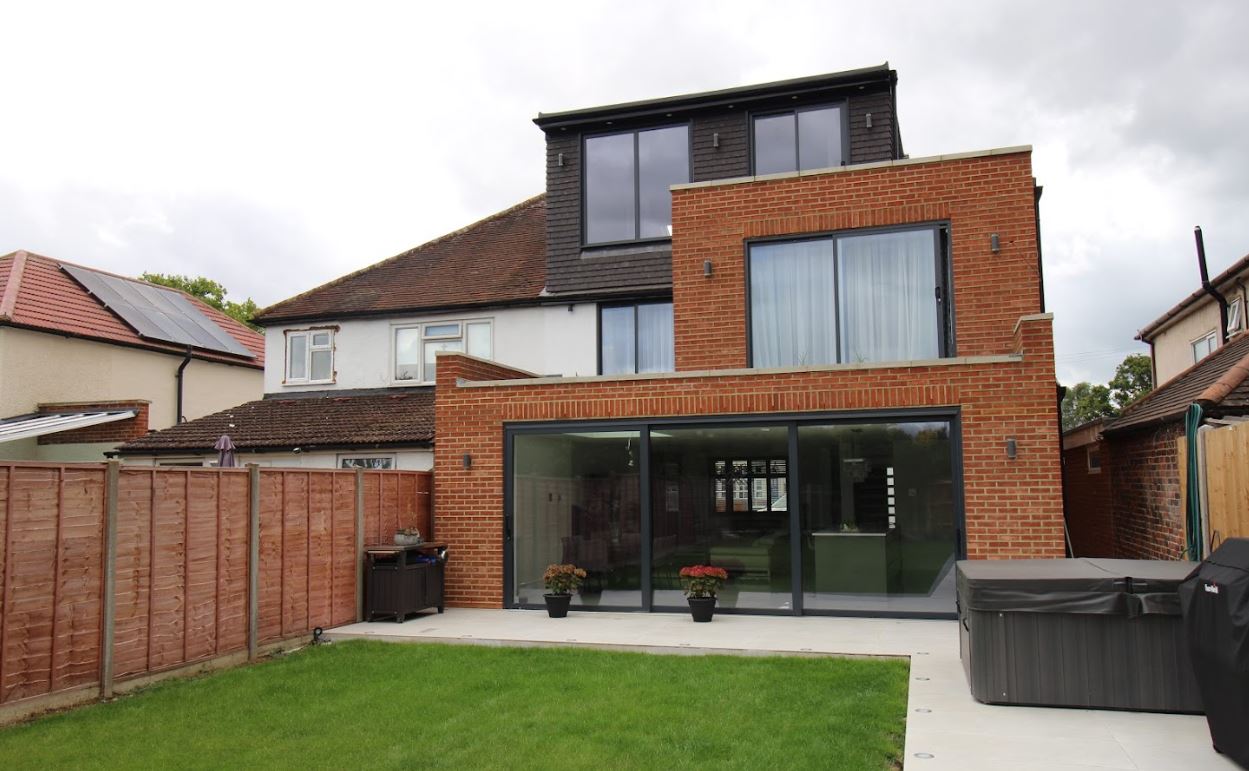
5. Altering the Roof
You may need to consider a roof alteration if the height of the existing roof is less or is not sufficient enough to create a habitable space. Supposing if the total pitch height does not exceed 2.5m, you may then need to consider raising the ridge height or adding a dormer window to increase headroom space.
6. Reinforcing the Floor
Typically, loft floors cannot withstand the weight of the living space as they are not designed accordingly. For this reason, strengthening the floor with joists or steel supports is imperative to ensure total safety and longevity of the converted loft space.
7. Energy Efficiency and Ventilation
Like any other extension or conversion, while executing a trussed roof loft conversion, it is an opportunity to integrate insulating materials for all segments of the loft space including the roof, wall, and floor to ensure an energy efficient and well-ventilated space.
Adding insulating materials above the rafters and between the rafters ensures a cold roof.
Adding insulating materials above the rafters only will ensure a hot roof.
8. Install the Staircase
While installing the staircase, consider the climbing width between the stairs to access the loft. Straight or spiral staircases can be considered with a desired width of 600mm. Ensure a headroom height of minimum 2m above the staircase.
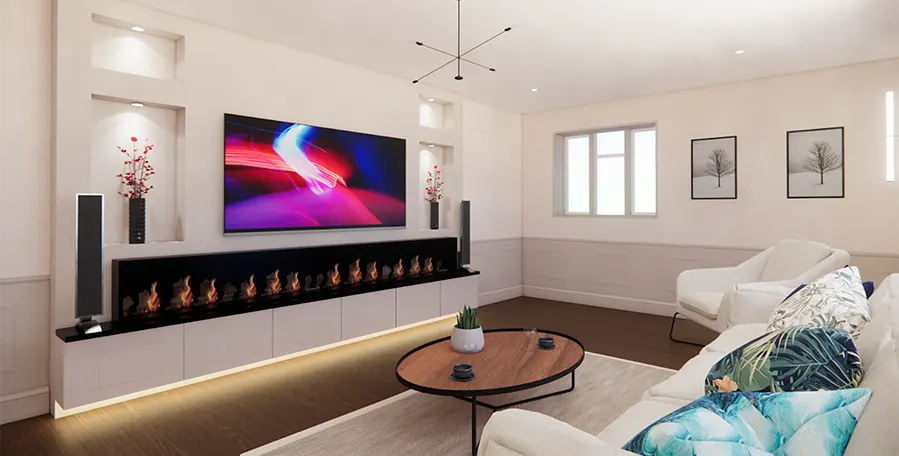
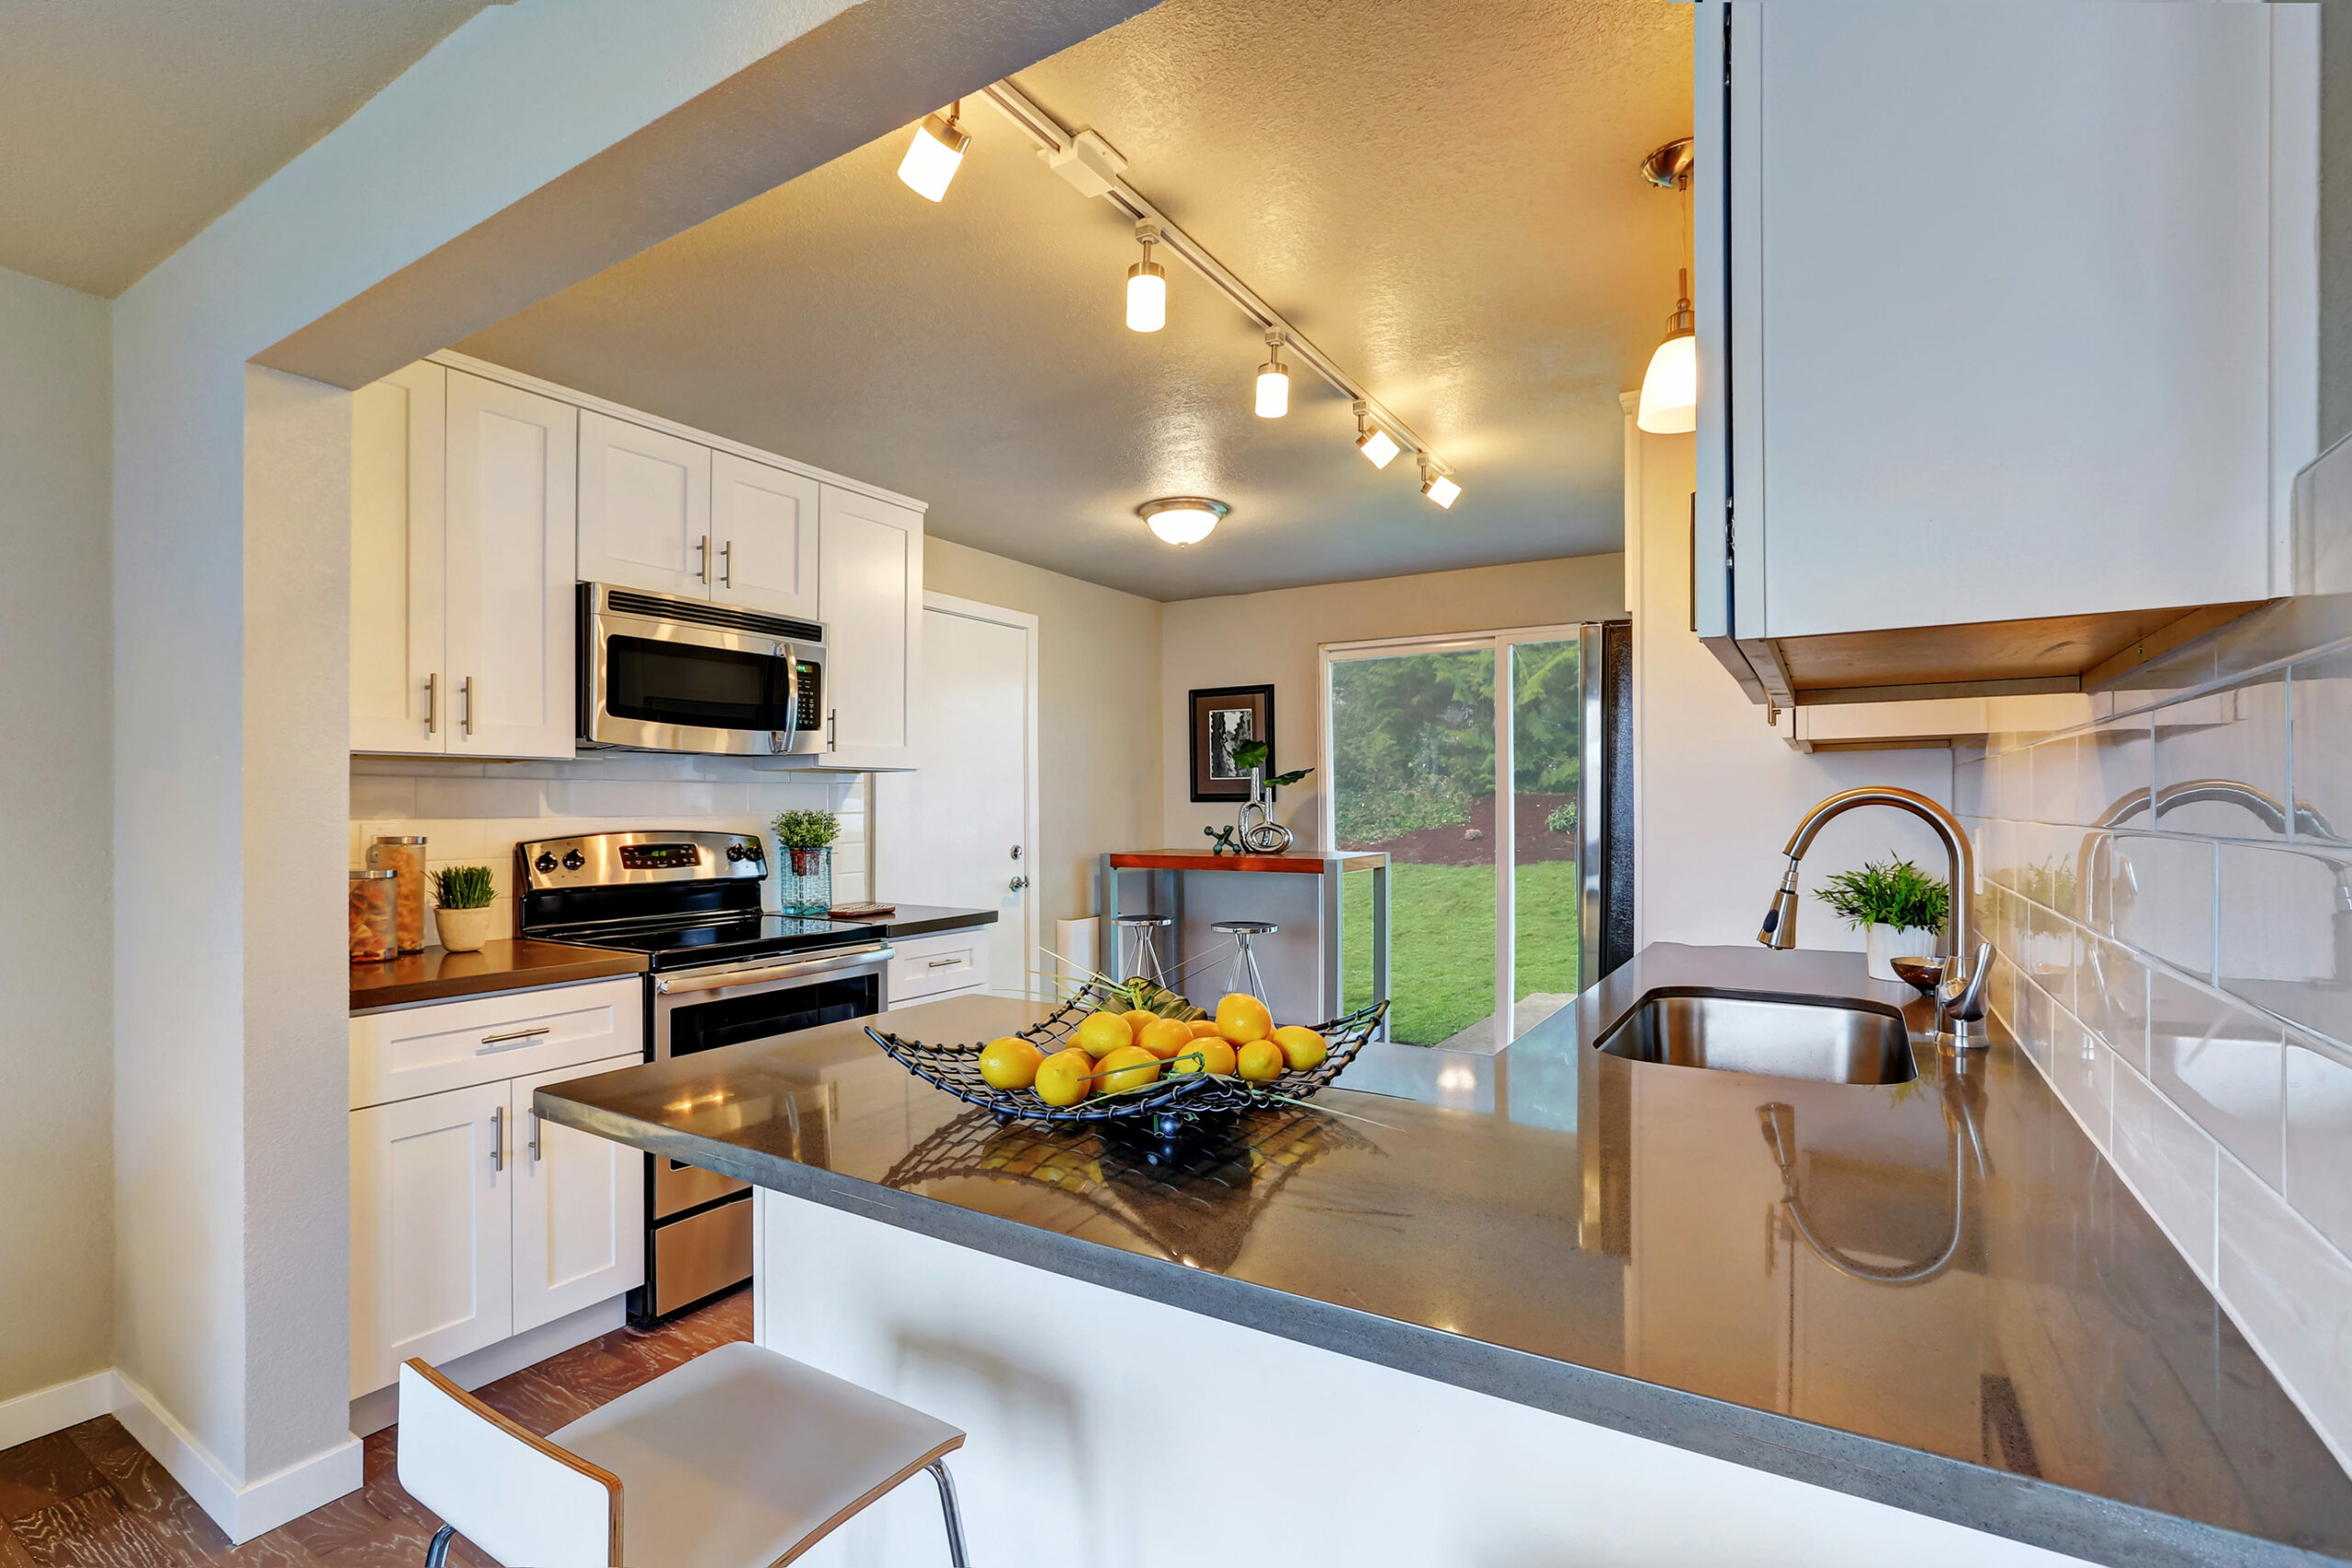
9. Finishing
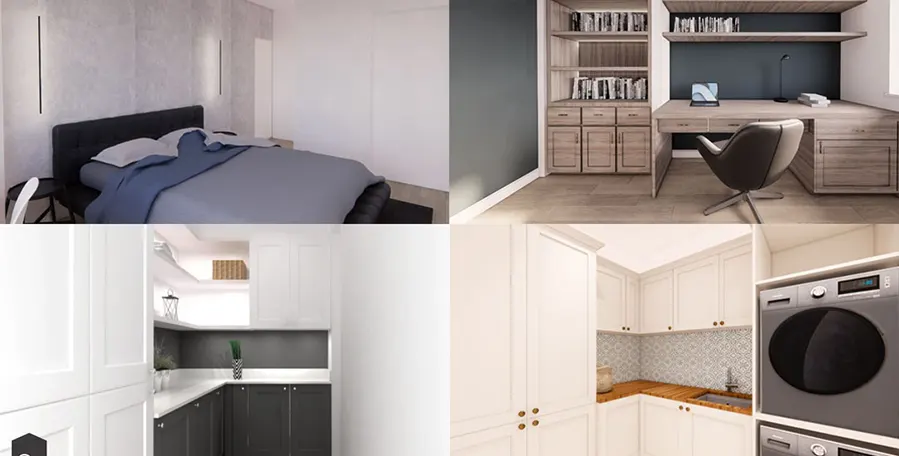
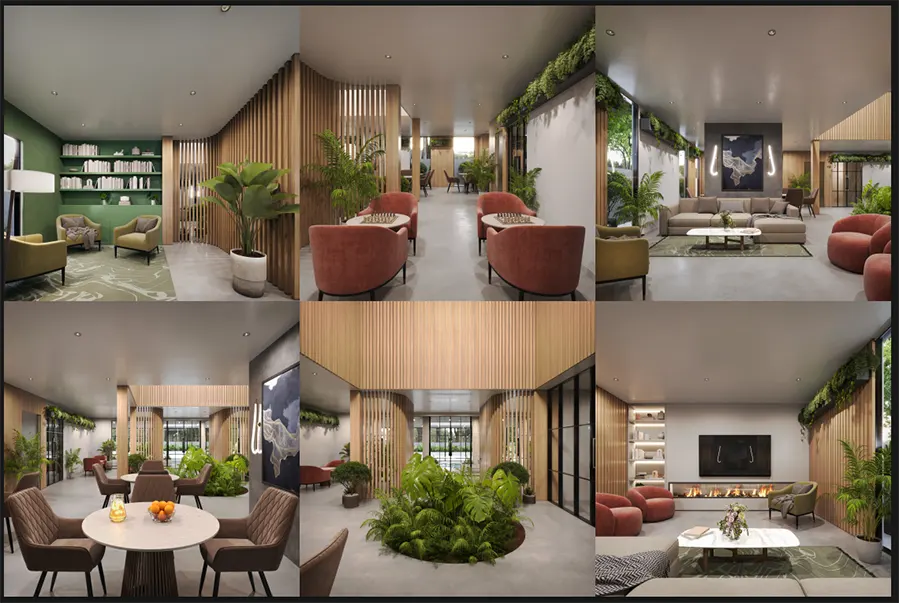
Once you have finished executing the structural works, it is now time to look into the interiors. Install electrical connections if you are planning to place a bulb at the loft space. You can run a plumbing connection if you plan to convert the loft space into a bathroom or any other utility that warrants plumbing lines.
After running through electrical & plumbing lines, you can now plan to furnish the walls and floors with paint and flooring options.
Planning Permission for Trussed Roof Loft Conversion
Below are key factors that determine whether you require planning permission for a trussed roof loft conversion –
- If the truss roof loft conversion demands addition of windows, insulating materials or warrants any other significant changes to the structure, then planning permission will be required.
- If the trussed roof loft conversion is for a utility that does not necessitate much structural changes, for example for a guest room or a storage room, then planning permission may not be required.
- If your property is a listed building or lies in a conservation area, then planning permission will be necessary.
Building Regulations for Trussed Roof Loft Conversion
As with the case with any new builds, extensions, or conversions, building regulations for a trussed roof loft conversion requires mandatory approval. This is done to ensure that the converted loft space is safe from any type of hazards and is a structurally sound execution. Below are the considerations you need to pay heed to –
- Headroom: Distance from the loft floor to the lowest point of the attic needs to be at least 2.2m.
- Fire Safety: integration of fire-resistant materials and equipment such as fire safety alarm, plasterboard, fire exit doors, smoke alarms, etc, should be present.
- Insulation: Application of insulating materials is a must by the rule book of building regulations. All sides of the loft space including the floor, roof, and wall must be sufficiently insulated to ensure a well-insulated and energy efficient loft space. Heat loss or escape of warm air outside of the loft space must be prevented, which acts as a check.
Conclusion
A trussed roof loft conversion is a demanding and complex task. Taking due consideration of the roof structure, roof pitch in terms of its load bearing capacity and spacing is critical. If your trussed roof dates back to the 1960s or is quite old, then consider having checks for cracks on the roof or for any other damages.
At Extension Architecture, we are your go-to experts for such complex conversions. Having executed several loft conversion projects across the UK and the length and breadth of London, places us at a distinct advantage with immense experience in successfully executing such projects.
Whether you have already hired a builder for your trussed roof loft conversion and are now in a situation where you require expert opinion and help, do not worry; our structural engineer will always be at your disposal. Contact us Now.